 |
|
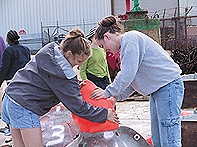
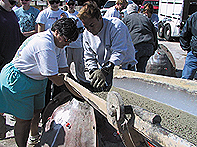
Science teacher Page Hutchin
son inspects the
progess
of her
charges |
 |
|
"It goes in like this. .
." |
 |
|
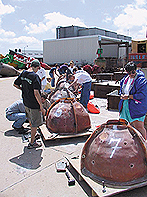
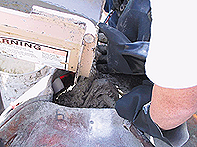
The orange tabs projecting from the scattered
holes are actually small poly-balls held in place by eye
bolts. These will be inflated before the concrete is
poured to create holes in the structure. Sand is poured
to fill the base of the mold and prevent the concrete
from leaking out the
bottom. |
 |
|
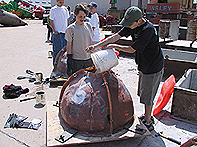
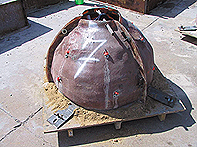
Getting the large poly-ball in the mold after it
is assembled is a little more challenging. This creates
a hollow in the mold and also allows the "reef ball" to
be floated during some
deployments. | |
 |
 |
|
With a little help from a compressed air tank,
inflating the balls is a breeze. After inflation a
mixture of sugar and water is sprayed on the sides of
the mold and poly-balls to keep the concrete from
hardening on the
surface. |
 |
|
Complete and ready for
concrete. |
 |
|
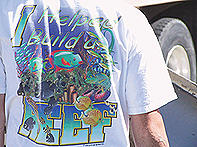
All volunteers are awarded a colorful memento of
their contribution, a T-shirt bearing the clain, "I
helped build a
REEF." |
 |
|
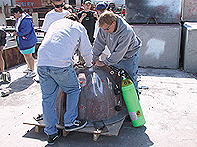
Hmmm, squishy concrete-thisis Mike Meiers
favorite part, especially when it
gets messy
|
 |
|
Page and Charlie carefully guide the concrete
into a mold-watch the drips,
guys! |
|